
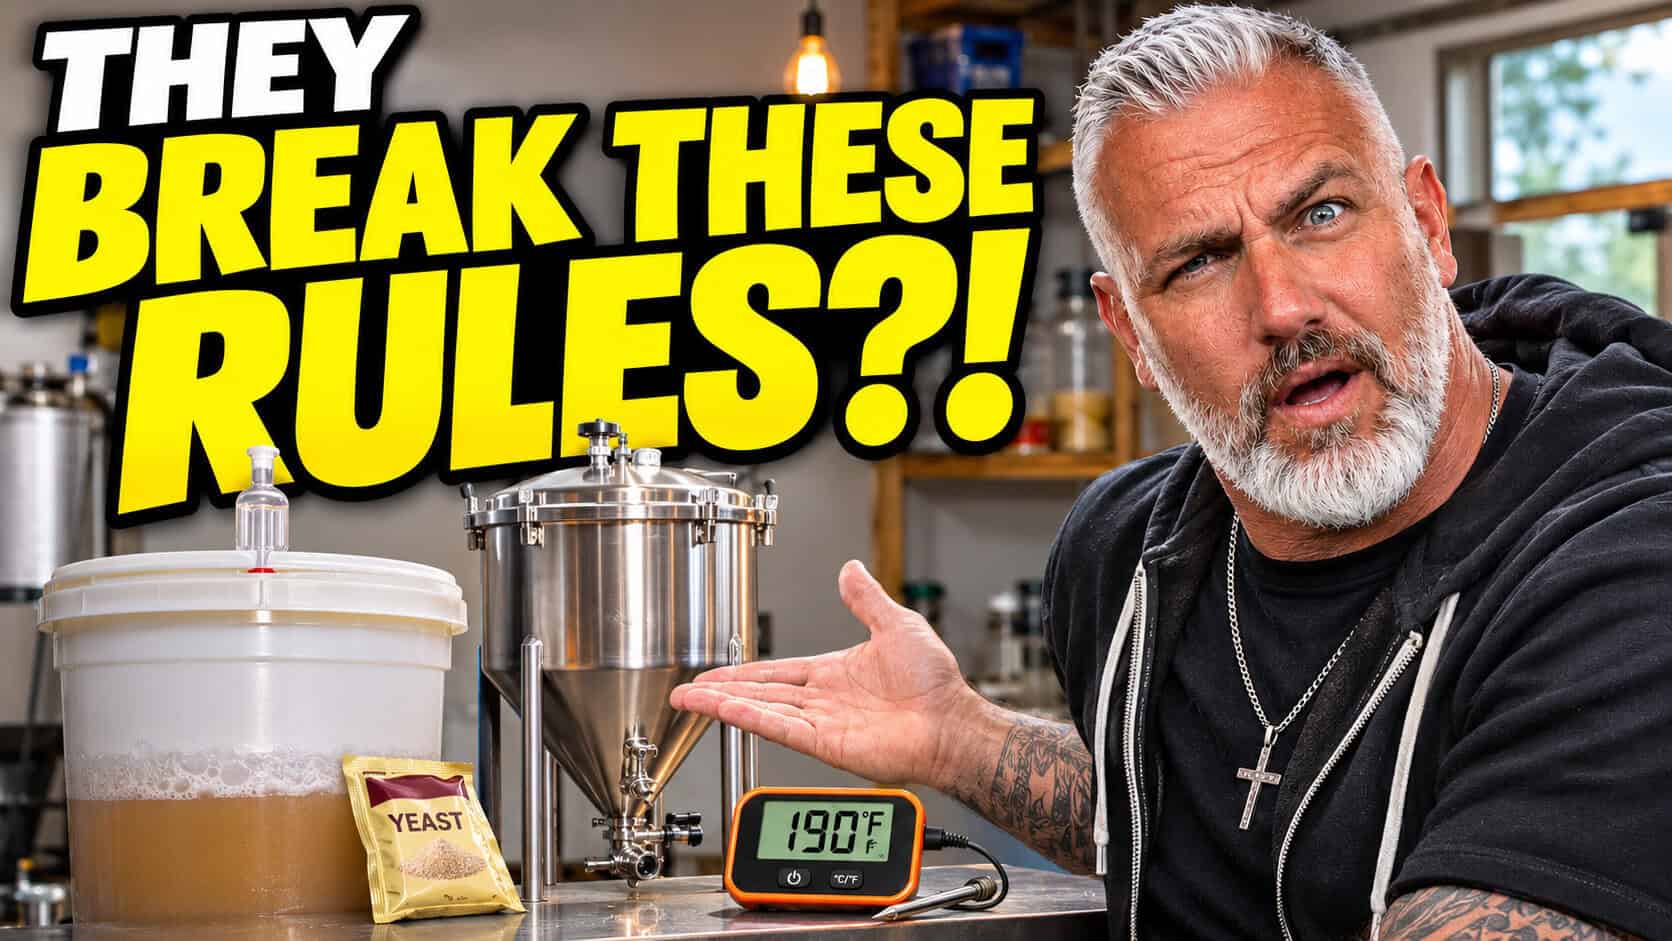
Homebrewing rules you can break are everywhere, and some of them have been repeated for so long that nobody even questions them anymore.
You have to sparge at a certain temperature.
You need two packets of yeast.
You need expensive stainless steel equipment.
You have to follow beer style guidelines.
And apparently, you still need to transfer your beer into a secondary fermenter.
Really?
Now, don’t get me wrong. Brewing has some important rules. Sanitation matters. Fermentation temperature matters. Healthy yeast matters.
But there’s a big difference between doing something because it actually improves your beer and doing something because another homebrewer told you that’s how it’s always been done.
A little while ago, I released a YouTube video called 7 Brewing ‘Laws’ You Don’t Need to Follow Anymore.
Well, you guys had plenty to say about that one!
Some of the comments were hilarious. Others challenged brewing advice I’ve heard repeated for years.
And a few raised some pretty interesting questions.
So today, we’re looking at five homebrewing rules that aren’t always as absolute as people make them sound.
I’ll tell you where I agree, where I think we need to be careful, and what really matters when you’re making beer at home.
Let’s get into it.
Affiliate Disclosure: Some equipment recommendations on Make Beer Easy contain affiliate links. As an Amazon Associate, I earn from qualifying purchases at no additional cost to you.
Watch: Homebrewers Are BREAKING These Brewing Rules!
In this episode of Big Robb Talks Brewing, I’m responding to actual comments from viewers who don’t necessarily follow every traditional brewing rule.
We’re talking about sparging temperatures, pitching yeast, beer style guidelines, fermentation equipment, and whether secondary fermentation is really necessary.
And there’s one thing I want you to remember while watching:
Just because something works for one brewer doesn’t mean it’s automatically the best approach for everybody.
But that doesn’t mean we shouldn’t question the conventional advice either.
1. Do You Really Have to Follow BJCP Beer Style Guidelines?
One of my favourite comments came from a viewer who pointed out that the BJCP doesn’t have jurisdiction in his apartment.
I got a pretty good laugh out of that one.
Because he’s right.
The Beer Judge Certification Program, or BJCP, publishes detailed guidelines describing different beer styles.
Those guidelines cover things like appearance, aroma, flavour, mouthfeel, bitterness, alcohol content, and colour.
They’re useful.
If you’re entering a homebrew competition, you want to understand what judges are looking for.
If you’re trying to reproduce a traditional German Kölsch or an Irish stout, those guidelines give you something to work toward.
You can check out the official BJCP beer style guidelines if you want to see just how detailed they get.
But here’s my question.
What if you’re not entering a competition?
What if you’re brewing a beer that you simply want to enjoy?
Brewing to Style Is a Choice
Let’s say you brew an American blonde ale.
You like it, but you’d enjoy it more with a little extra hop flavour.
So you add some Cascade.
Maybe it pushes the beer outside the traditional style parameters.
Who cares?
If it tastes better to you, you’ve made a beer you enjoy more.
I’ve done something similar with my Mocktoberfest, an Oktoberfest-style beer fermented with ale yeast.
Is it a traditional Märzen lager?
Nope.
But that’s not the point.
I wanted an Oktoberfest-inspired beer without going through a traditional lager fermentation schedule.
Grab my Mocktoberfest recipe here
And there’s nothing wrong with experimenting.
My take: Learn the styles. Understand what makes them different. Then decide whether you want to follow them.
The only judge that matters in my home brewery is the guy drinking the beer.
And most of the time, that’s me!
Equipment Doesn’t Have to Be Complicated Either
If you’re new to homebrewing, don’t let all the talk about styles, equipment, and brewing techniques convince you that you need a miniature commercial brewery in your basement.
Start with equipment that suits the way you actually want to brew.
👉 See My Recommended Beginner Homebrewing Equipment
I’ve included simple starter kits, fermentation buckets, hydrometers, thermometers, and other basic equipment without trying to sell you a bunch of unnecessary gadgets.
2. Is Sparging at 190°F Really a Brewing Mistake?
Now here’s where things get interesting.
One viewer told me he mashes out and sparges using 190°F water.
And according to him, he’s never noticed a difference in the finished beer.
He also says the grain bed drains better.
If you’ve been brewing for a while, you’ve probably heard that you shouldn’t sparge above approximately 168–170°F (76–77°C).
The usual explanation is that excessively hot sparging can extract tannins from the grain husks, leaving your beer with an unpleasant astringent character.
Astringency is that dry, puckering sensation you might get from over-steeped tea.
Nobody wants their beer tasting like they chewed on a handful of grain husks.
But here’s the thing.
Temperature Isn’t the Whole Story
Sparge water temperature matters, but so does pH.
As you rinse sugars from the grain bed, the buffering effect of the mash decreases.
Depending on your water chemistry and sparging method, the pH of the runoff can rise.
High pH combined with hot sparging can increase the risk of extracting undesirable tannins.
That’s an important distinction.
It’s also worth remembering that adding 190°F water doesn’t automatically mean the entire grain bed reaches 190°F.
The actual temperature depends on the grain temperature, water volume, and equipment.
The American Homebrewers Association has an interesting discussion on common homebrewing myths, including sparge temperature.
The point is that this subject isn’t nearly as simple as one magic temperature.
Would I Recommend 190°F Sparging?
Not as a blanket recommendation, especially for beginners.
If you’re starting out, sticking with a conventional sparge temperature is a sensible approach.
There’s no need to introduce another variable when you’re still getting comfortable with all-grain brewing.
But if you’re an experienced brewer, understand your water chemistry, and consistently produce good beer using hotter sparge water, that’s worth discussing.
I brew using a BrewZilla all-in-one system, and my approach is to keep the process consistent rather than constantly changing temperatures because somebody else is doing it differently.
Consistency helps you figure out what actually improves your beer.
If you’re learning all-grain brewing, here’s my guide to what sparging is and how to do it.
My take: Don’t treat 170°F as a magical number that instantly ruins beer if you go one degree over it. But don’t ignore pH, runoff conditions, and the potential for astringency either.
Understand the process before you start pushing the limits.
3. Do You Really Need Two Packets of Yeast?
Another viewer mentioned that he’s been using one packet of yeast for his 25-litre batches, even though some YouTubers recommend using two.
And this is another area where homebrewers love to make blanket statements.
You’ve probably heard that you need a yeast starter.
Or that one packet isn’t enough.
Or that you should always use two packets to be safe.
But the correct amount of yeast depends on several things.
What Actually Determines Your Yeast Pitching Rate?
The important factors include:
- Batch size and volume of wort
- Original gravity
- Yeast strain
- Whether you’re using dry or liquid yeast
- Yeast freshness and viability
- Fermentation temperature
- The yeast manufacturer’s recommended pitching rate
For example, Fermentis recommends approximately 50–80 grams per hectolitre for its popular SafAle US-05 dry yeast.
That works out to roughly 10–16 grams for a 20-litre batch.
An ordinary 11.5-gram packet falls within that range.
But for a 25-litre batch, the same published recommendation works out to approximately 12.5–20 grams.
So one packet isn’t automatically the recommended amount for every batch.
You can see the official specifications on the Fermentis SafAle US-05 product page.
More Yeast Isn’t Always Better
If you’re brewing a moderate-strength ale, one appropriately sized packet of healthy dry yeast might be all you need.
But a strong imperial stout or a cold-fermented lager may have different requirements.
That doesn’t mean every beer needs a yeast starter or multiple packets.
It means you should know what you’re brewing.
I’ve used dry yeasts like Nottingham and US-05 plenty of times over the years.
They’re convenient, reliable when handled properly, and excellent options for homebrewers.
You can also harvest and reuse yeast slurry, provided you understand sanitation, storage, yeast viability, and how much slurry to pitch.
But I wouldn’t recommend simply scooping an arbitrary amount of old yeast from the bottom of a fermenter and hoping for the best.
If you want to understand the basics, read my guide to pitching yeast.
My take: Don’t automatically pitch two packets into every beer.
But don’t assume one packet is always enough either.
Follow the recommendations for the yeast and batch you’re actually brewing.
And yes, I realize the irony of telling you not to blindly follow brewing advice from YouTubers while giving you brewing advice on YouTube!
4. Do You Need an Expensive Stainless Steel Fermenter to Make Good Beer?
Now we’re getting into something that’s right up my alley.
One viewer pointed out that you don’t need an expensive stainless conical fermenter to make fantastic beer.
A basic five- or six-and-a-half-gallon plastic fermentation bucket can do the job.
And you know what?
I completely agree.
Look, stainless steel fermenters are pretty cool.
Some have pressure capabilities, sampling valves, temperature-control options, and fittings that make transfers much easier.
If you’ve got the budget and want those features, there’s nothing wrong with buying one.
But does owning a fancy stainless conical automatically make you a better brewer?
Not even close.
What Matters More Than Your Fermenter?
You can have a beautiful stainless fermenter and still make lousy beer.
You can also use a basic food-grade plastic bucket and produce something fantastic.
Here’s what I’d focus on first.
Sanitation: Your fermenter and anything contacting cooled wort or finished beer need to be properly cleaned and sanitized.
Temperature: Keeping fermentation within an appropriate range for your yeast can have a major effect on the finished beer.
Healthy yeast: Good fermentation depends on using an appropriate amount of healthy yeast.
Oxygen management: Once fermentation is underway and especially after it finishes, unnecessary oxygen exposure can damage flavour and aroma.
Patience: Don’t rush your beer into bottles or a keg before fermentation is complete.
None of those things requires a thousand-dollar fermenter.
Where I’d Spend My Money First
If I were starting over with a basic fermentation bucket, one of the first upgrades I’d seriously consider would be better fermentation temperature control.
That doesn’t necessarily mean buying an expensive glycol system.
A simple refrigerator or chest freezer with a suitable temperature controller can be a major improvement.
I use an Inkbird controller with a converted chest-freezer setup myself.
It isn’t fancy, but it does the job.
And that’s what matters.
👉 Check Out My Fermentation & Temperature Control Equipment Recommendations
You’ll find basic fermenters, temperature controllers, and other useful options for improving your fermentation setup without spending money just for the sake of spending it.
What About Dry Hopping in Plastic Buckets?
The viewer also mentioned that he simply removes the bucket lid and tosses in his dry hops.
Can that work?
Absolutely.
I’ve dry hopped beer in straightforward fermentation setups plenty of times.
But I wouldn’t say oxygen exposure is irrelevant.
Hop-forward beers, especially heavily dry-hopped IPAs, can be particularly sensitive to oxidation.
You don’t need to panic every time you briefly open a fermenter, but minimizing unnecessary air exposure is still good brewing practice.
If you’re new to the technique, take a look at my guide to dry hopping beer.
My take: Buy stainless steel because it solves a brewing problem or makes your process easier.
Don’t buy it because you think plastic buckets can’t make great beer.
They absolutely can.
5. Do You Have to Transfer Beer Into a Secondary Fermenter?
Here’s a brewing rule I’m especially happy to question.
For years, homebrewers were told they had to move their beer from the primary fermentation vessel into another fermenter after several days.
The idea was that this would improve clarity, help the beer condition, and prevent problems from leaving it on the yeast cake.
Now, there are situations where transferring beer to another vessel makes sense.
Long-term aging, certain additions, and specialized brewing techniques may justify it.
But for most ordinary ales?
I don’t see the need.
The Problem With Unnecessary Transfers
Every time you move your beer, you’re introducing another opportunity for something to go wrong.
You might expose the beer to oxygen.
You might introduce contamination.
You might disturb sediment unnecessarily.
And you end up cleaning another fermenter.
All that work, and what exactly have you gained?
For many normal homebrew batches, you can simply let fermentation finish, give the beer time to settle, and package it directly from the primary fermenter.
You can also cold crash in the primary fermenter if your setup allows it, while taking appropriate precautions against oxygen being drawn into the fermenter during cooling.
When Does Secondary Make Sense?
There are exceptions.
If you’re aging a beer for an extended period, adding certain ingredients, or following a process that benefits from another vessel, transferring may be appropriate.
But it should be a deliberate decision.
Not an automatic step because a twenty-year-old instruction sheet says you have to do it.
I recently covered this subject in much greater detail.
👉 Is Secondary Fermentation Necessary? Why I Stopped Doing It
My take: For most ordinary ales, leave the beer in primary until it’s finished and ready for packaging.
One less transfer.
One less fermenter to clean.
One less opportunity to mess something up.
Sounds pretty good to me.
What Homebrewers From Previous Generations Can Teach Us
There was another comment on the original video that made me laugh.
One viewer talked about how his great-grandparents brewed beer in a thirty-gallon crock, using dish towels as an airlock and a piece of white cake as their yeast source.
Now that’s old-school brewing!
I’m not suggesting we should all start fermenting beer under dish towels or using cake as a substitute for brewing yeast.
Modern sanitation practices and properly selected brewing yeast exist for good reasons.
But the comment makes a good point.
People have been brewing beer for thousands of years.
They didn’t have Bluetooth hydrometers.
They didn’t have BrewZillas.
They didn’t have sophisticated fermentation controllers.
And they certainly didn’t have YouTube personalities telling them they needed to buy another piece of brewing equipment.
That doesn’t mean the old methods were always better or safer.
Modern brewing knowledge lets us make better, more consistent beer.
But sometimes I think we forget that homebrewing is supposed to be enjoyable.
You don’t need to turn every batch into a laboratory experiment.
Unless, of course, that’s what you enjoy doing.
And if you do, more power to you!
The Brewing Rules I Wouldn’t Ignore
Now, before somebody gets the wrong idea, I’m not saying every brewing rule is optional.
There are certain fundamentals I take seriously.
Proper Cleaning and Sanitation
This is one area where I don’t recommend cutting corners.
Equipment that contacts your cooled wort and finished beer needs to be cleaned and sanitized properly.
A contaminated batch is a lousy reward for several hours of brewing.
Fermentation Temperature
Temperature affects yeast activity and the flavours produced during fermentation.
Different strains perform best under different conditions.
Know what your yeast needs and try to keep fermentation under control.
Confirming Fermentation Is Finished
Don’t bottle beer simply because your airlock stopped bubbling.
Use gravity readings to confirm that fermentation has reached a stable final gravity.
Bottling beer before fermentation has finished can create dangerous pressure inside bottles.
Limiting Oxygen After Fermentation
Oxygen can be useful at appropriate stages before fermentation, but unnecessary oxygen exposure later in the process can damage the finished beer.
This is especially important with hoppy beers.
Using Appropriate Equipment
Don’t use containers, pressure vessels, or improvised equipment that aren’t suitable for the job.
Simple equipment is great.
Unsafe equipment isn’t.
My point is not that brewing knowledge doesn’t matter.
It’s that understanding the reasons behind a brewing practice is much more useful than blindly following instructions.
Equipment Used & Recommended for Simple Homebrewing
You don’t need to buy everything in this section.
In fact, that’s kind of the whole point of this article.
But there are a few pieces of equipment I think are worth having.
A decent fermentation bucket: A properly maintained, food-grade brewing bucket is more than enough for many homebrewers.
A hydrometer: This tells you what’s happening with fermentation instead of forcing you to guess.
An accurate thermometer: You don’t need a laboratory instrument, but knowing your actual mash and wort temperatures is important.
A suitable sanitizer: Clean equipment and proper sanitation are essential.
A temperature controller: Once you’re ready for an upgrade, controlling fermentation temperature can be more useful than buying a shiny new fermenter.
A pH meter: Not essential for every beginner, but useful for brewers who want to experiment with mash and sparge water chemistry.
If you’re looking for hydrometers, thermometers, pH meters, and other measuring gear:
👉 See My Recommended Measuring & Testing Equipment
My advice is simple: buy the equipment that solves a problem you’re actually having.
Not equipment you think you’re supposed to own.
Continue Learning About Homebrewing
If you enjoyed this discussion, here are a few other guides worth checking out:
What Is Sparging and How Do You Do It?
Understand the purpose of sparging and how to rinse sugars from your grain bed.
Learn how to pitch yeast correctly and why the right amount matters.
Is Secondary Fermentation Necessary?
Find out why I stopped routinely transferring ordinary ales into secondary fermenters.
Add hop aroma while understanding the importance of handling your beer carefully.
Free Beginner Brewer Bootcamp
New to making beer?
Or maybe you’ve brewed a few batches but still feel like you’re constantly second-guessing everything?
That’s exactly why I put together my free Beginner Brewer Bootcamp.
I’ll help you understand the brewing fundamentals without making the process more complicated than it needs to be.
You’ll learn about basic brewing techniques, fermentation, common mistakes, and the equipment you actually need.
No unnecessary complications.
Just practical brewing advice.
👉 Get My Free Beginner Brewer Bootcamp
Get My Top 5 Best-Selling Brew Pub Recipes
Want to spend less time worrying about brewing rules and more time making great beer?
I’ve also put together five of the best-selling beer recipes from my own brewpub.
These are real recipes based on beers that customers enjoyed.
You’ll also get additional brewing tips and bonus recipes.
Whether you’re a newer brewer or you’ve been at it for years, there’s something in there you can use for your next brew day.
👉 Get My Top 5 Best-Selling Brew Pub Recipes
Frequently Asked Questions About Homebrewing Rules
Can you break traditional homebrewing rules and still make good beer?
Absolutely. Some brewing rules are practical guidelines rather than absolute requirements. The important thing is understanding why a technique is recommended and what might happen if you change it.
Do you have to follow BJCP beer style guidelines?
No. BJCP guidelines are particularly useful for competitions, brewing education, and reproducing established beer styles. If you’re brewing for personal enjoyment, you can experiment with ingredients and techniques however you like.
Can you sparge above 170°F?
It can work, but sparge temperature isn’t the only consideration. Grain-bed pH, water chemistry, sparging method, and runoff conditions can affect the risk of extracting unwanted tannins. Beginners are generally better off following a conventional sparging process until they understand their system.
Is one packet of dry yeast enough for five gallons of beer?
Sometimes. For many moderate-strength ales, a properly sized packet of dry yeast can be sufficient. Check the manufacturer’s recommended pitching rate for your exact yeast, batch size, and original gravity. Strong beers, larger batches, and certain lager fermentations may require more yeast.
Can you make great beer in a plastic fermentation bucket?
Yes. A suitable food-grade brewing bucket can produce excellent beer. Sanitation, fermentation temperature, healthy yeast, and proper handling have a much greater influence on beer quality than the price of your fermenter.
Do you need secondary fermentation for homebrew beer?
Usually not for ordinary ales. In many cases, the beer can finish fermenting and conditioning in the primary vessel before being bottled or kegged. Some specialized processes and long-term aging methods may benefit from another vessel.
Do expensive homebrewing systems make better beer?
Not automatically. More expensive equipment may offer better control, convenience, and repeatability, but simple brewing equipment can still produce excellent beer when used correctly.
Final Thoughts: Understand the Rules Before You Break Them
Here’s what I think it all comes down to.
There’s nothing wrong with following traditional brewing methods.
And there’s nothing wrong with experimenting.
If you want to brew a beer exactly according to BJCP guidelines, go for it.
If you want to experiment with different yeast strains, temperatures, and brewing methods, go for that too.
And if you’re perfectly happy making good beer in a plastic bucket, don’t let anybody convince you that you need a thousand-dollar stainless fermenter.
The most important thing is understanding what you’re doing and why.
Some rules exist to prevent real brewing problems.
Others are simply traditional ways of doing things.
Learn the difference.
Then brew the beer you actually want to drink.
Now I’ve got a question for you.
What’s one homebrewing rule you think is complete nonsense, but other brewers will argue with you about until they’re blue in the face?
Drop your answer in the comments below.
And don’t just tell me the rule.
Tell me WHY you disagree with it.
Maybe we’ll get enough interesting responses for another Big Robb Talks Brewing episode.
Until next time, keep brewing, keep experimenting, and most importantly, have fun with it.
Cheers!
Big Robb
Simple Brewing. Better Beer. Made Easy.