
Does your homebrew taste fine but look hazy or cloudy?
You’re not alone — this is one of the most common frustrations new homebrewers run into.
The good news is that you usually don’t need extra ingredients, finings, or complicated processes to fix it. In most cases, you’re just missing one simple step: cold crashing beer.
Cold crashing is an easy cleanup step that helps clear your beer before you bottle or keg it. It uses cold temperatures and gravity to drop yeast and other particles out of suspension so your beer pours clearer and looks better in the glass.
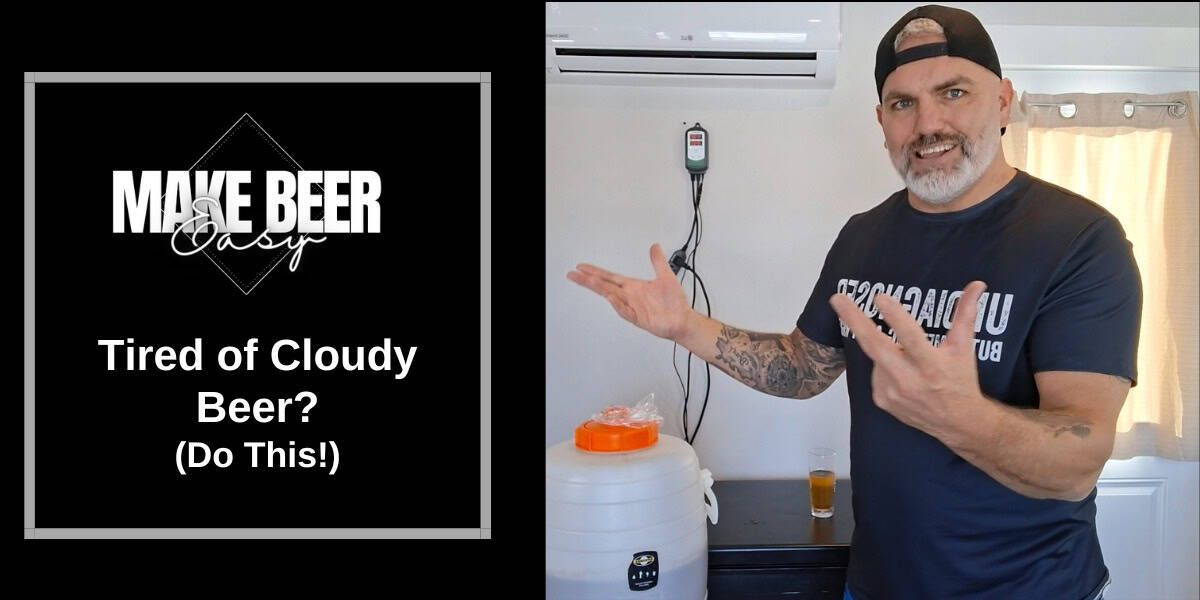
Watch the Video: Cold Crashing Explained (Beginner Friendly)
If you want to see exactly how this works, I walk through the entire cold crashing process step by step in the video below — including temperatures, timing, and a couple of rookie mistakes to avoid.
This is the same method I use on my own beers, whether I’m kegging or bottling.
What Is Cold Crashing?
Cold crashing simply means moving your fully fermented beer into cold, fridge-like temperatures for a short period of time.
Once fermentation is finished, your beer still contains yeast, proteins, hop particles, and other debris floating around. When the beer gets cold, yeast activity slows down, gravity takes over, and all that material drops to the bottom of the fermenter.
The result is clearer beer and cleaner pours when you package.
When Should You Cold Crash Your Beer?
I like to cold crash after fermentation is fully complete. In most cases, that means the beer has been fermenting for at least two weeks. Many of my beers go closer to three weeks before I even think about packaging.
Once fermentation is done, you can cold crash right before bottling or kegging.
Cold Crashing Temperatures (Fahrenheit and Celsius)
You want cold, but not freezing.
A good target range is:
-
34–36°F (1–2°C) if your setup allows it
-
38–40°F (3–4°C) also works well
The key is keeping the beer just above freezing so yeast and proteins settle without risking frozen beer.
👉 Check out the temperature controller I use to hold steady fridge temperatures for cold crashing
How Long Should You Cold Crash?
For most beers, 2–3 days is plenty.
After that time, most of the suspended material will have settled to the bottom of the fermenter. Once the beer clears, you can move on to bottling or kegging.
This is a short step that makes a noticeable difference.
What Equipment Do You Need?
You don’t need anything fancy.
A standard fridge works just fine. You can also use a chest freezer with a temperature controller, which gives you more flexibility and lets you use the same setup for kegging or lagering.
If you’re using a freezer, a temperature controller like an Inkbird allows you to hold steady fridge temperatures without freezing the beer.
👉 View chest freezers commonly used for cold crashing and homebrew kegging
One Rookie Mistake to Avoid
If you’re using an airlock, don’t leave it on during cold crashing.
As the beer cools, pressure changes can suck sanitizer back into the fermenter. It usually won’t ruin the beer, but it’s easy to avoid.
Instead, remove the airlock and loosely cover the opening with plastic wrap or a sanitized barrier, secured gently so no oxygen gets in.
Cold Crashing Beer vs Lagering
Cold crashing is similar to lagering beer, but much shorter.
Lagering uses the same principle — cold temperatures and time — but typically lasts weeks or even months. Cold crashing is simply a quick version designed to clean up your beer before packaging.
Why This Step Makes Such a Big Difference
Cold crashing doesn’t change the flavor of your beer. What it does is improve clarity and presentation.
Clearer beer looks better, pours better, and gives you more confidence in your brewing process — especially if you’re new and trying to figure out why your beer doesn’t look like what you see in pubs.
It’s one of the simplest upgrades you can make without overcomplicating brewing.
What’s Next
In upcoming videos, I’ll walk through:
-
Cleaning kegs the easy way
-
Transferring beer from the fermenter into the keg
-
Simple kegging setups for beginners
All without turning homebrewing into a science project.
Want Better Beer Without the Guesswork?
If you want to brew beer that actually tastes like something you’d order at the pub, I’ve put together my Top 5 best-selling beer recipes from my brew pub.
They’re proven, repeatable recipes I’ve brewed and served for years — no gimmicks, no complicated steps, just solid beer that works.
👉 Sign up using the form on the side of this page to get the Top 5 Brew-Pub Style Beer Recipes
I’ll also send simple brewing tips from time to time to help you make better beer with less stress.
Cheers
Big Robb
Make Beer Easy
🍺 Simple brewing. Better beer.