
If you are reading this post then you are obviously looking to make your beer clear as possible and think that learning how to filter home
This article may be an eye opener for you. Now bear with me, I am not saying don’t filter. And I am a huge fan of a nice clear homebrew, I love being able to look through my beer and see the other side. I have always tried to make my brews as clear as possible (unless brewing a NEIPA).
But over the years I have discovered filtering is only a small factor in making a clear beer and in some cases you don’t even need to bother filtering at all in order to get crystal clear beer.
Now before you think I am one of the hazy beer loving guys… trust me that for me there is no question that one of the factors I use to judge how well I did at brewing my latest home-brewed beer is how clear it is.
Now if you don’t believe me when I say there are other ways to get a very clear beer and want to jump right into learning how to filter your brew than the following link is to a post where I reveal the only home brew filter I use and recommend at the moment and I walk you through exactly how to use it:
Click here=> Bouncer Beer Filter – The Best Homebrew Inline Filter
OK still here?
Good stuff… So in this this article I am going to share with you my thoughts on how to get your beer crystal clear.
And as I stated getting your home brew as clear as possible is an important part of our hobby.
A good beer should be so much more than just taste.
The simple fact that what could be called a “craft beer movement” has sprung up with people not just enjoying consuming a great tasting beverage but also making their own is a huge testament to the fact that the love of beer is more than just about its taste.
To most beer lovers the taste of the beverage is only part of the enjoyment that a good beer brings.
Other factors come into play for most of us:
- who are you drinking it with,
- where are you drinking it,
- how does it smell,
- what type of glass do you drink it out of (this is a big one for me, I love beer glasses),
- AND how does it actually look in the glass? (clarity)
How the Big Boys Do It
Although I think they have it all wrong in how they do it… commercial breweries put a ton of time, energy and money into researching what is pleasing to the average consumer of their product. They are not just focused on the taste but rather how it affects their customers other senses as they consume and experience their beer.
Whether or not their customer knows it or not the way the beer pours out of the can, how it looks as it pours into a glass, the aroma that you smell as you pour it, the amount of head in your glass after you are done pouring it and how crystal clear it looks in the glass are all factors other than the taste that the breweries know will help win you over to buying their product over the others on the market.
They even spend big bucks researching the best popping sound the can makes as you open their product. As funny as that is, it is true and I really get how important that is; even as a home brewer I love the “Pop” sound the bottle makes as I open up a new bottle of my homebrew.
So many of these things go into the beer drinking experience.
As a Homebrewer You Can Control All Aspects of Your Brew
One of the very cool things about being a homebrewer is the fact that you can control so many aspects of the end result. From the taste, mouthfeel, head retention, AND clarity aka how it looks in the glass.
And obviously the area that we are going to touch on today and the reason why you are researching how to filter home brew beer is the visual appearance or the clarity.
So as I said I am all for filtering my home brewed beer and again the following is a link to a post I did that will show you the beer filter I recommend and how to use it:
However as stated filtering beer is not the only answer or necessarily the best answer to getting very clear beer. It is a factor in the process and can be an important factor.
But getting clear beer is one of the factors as a home brewer you actually have a lot of control over and options available to help you accomplish this.
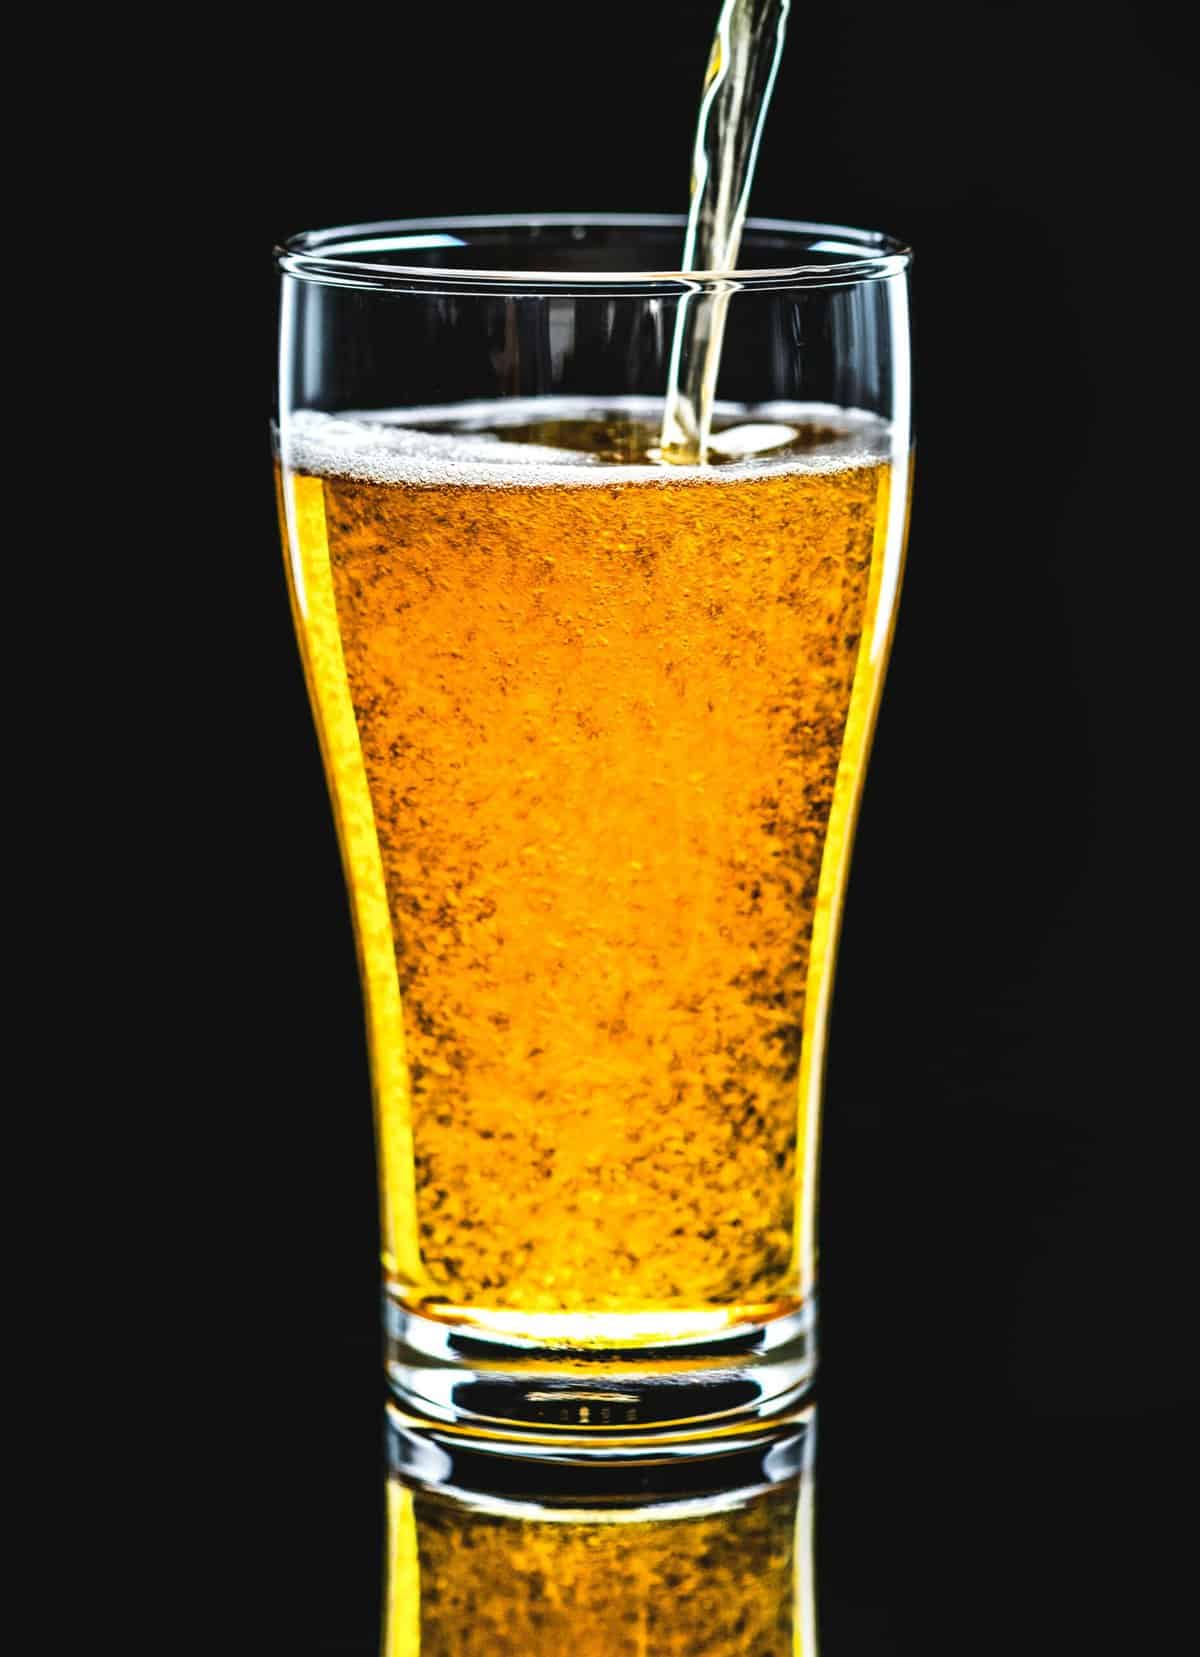
Clarity in the end really just means how your beer will look after you pour it into your glass.
If you are able to see through the glass and it has a consistent color to it than it has a good clarity to it and will be visually appealing to most.
However if there are things floating around in it. If you can see nasty little floaties suspended in the brew then most will think the beer is garbage. Even though the little nasties are a simple and safe byproduct of the homebrewing process the perception is they are bad and ugly and the quality of your brew must be bad also.
And I get why this perception exists. I am guilty of it also. Even though I know these floaties are fine and should not affect the taste and quality of the brew, in my head just seeing them there floating around I automatically think the beer is crap.
What Are These Floaties?
#1) Yeast – A lot of the “stuff” that floats around in your beer comes from the yeast that is crucial to the fermentation process that makes beer.
Most of the things that are floating in a beer are actually a byproduct of the yeast which is of course paramount to fermenting.
Some of the yeasts you can purchase are much better at “Settling out” the brew during the fermentation process then others. Settling out would mean dropping all of the solids out of suspension. Bringing them to the bottom of the fermenter.
So one of the first things you can do is get a yeast that flocculates well.
Flocculation is an important part of what a good yeast will do at the end of fermentation. A very basic overview of what this means and what happens is that when flocculating single cells will come together or clump to together and then drop out of suspension. Meaning the stuff floating around your fermenter comes together in clumps and falls to the bottom of your fermenter while leaving the nice clear beer behind.
Some yeasts do this (floccuate) better than others. So if a clear beer is what you want research the yeast you are using before brewing. I find Safale US-05 does a great job of this and makes for a nice clear beer.
#2) NMP’s – Another cause of the floaties is what is referred to as NMPs or non microbiological particles.
They are also simply a natural occurring byproduct of brewing. And once again they are not harmful to you in anyway. They just simply look terrible floating around in the beer.
Non Microbiological Particles are created during brewing and wort creation.
So what you want to do is boil the wort at a high enough temperature and long enough in order to get the proteins that are part of the wort’s ingredients (grains) to actually break down during the boil and become part of the wort itself instead of remaining a solid (floc) .
If you don’t accomplish this the solids will remain visible in the finished beer.
All you have to do to avoid having this happen is to try and keep your temperature up to around 215 degrees F during the boil. And if you have the patience go for a 90 minute boil instead of 60, this will make sure that the proteins breakdown fully
#3) Cool Your Brew – Another very simple technique you can implement to significantly reduce the floaties in your brew is to get the wort cooled down as quickly as possible after the boil is completed.
By doing do you will significantly increase the clarity of your brew as well as improve the overall taste.
The following is a link where I show you exactly how to cool your wort. I actually provide you with 5 different options of doing so. If you are looking at cooling it quickly then you will want to use either option 4 or 5 on that post:
Click here => How to Cool Wort – Top 5 Methods
Here are Even More Strategies
Those 3 strategies I just gave you are great methods to clear your beer and they will do wonders for the overall quality. And of course there are many other ways to clear your brew to include learning how to filter home brew beer.
Simple things like adding whirlflock (Irish Moss) during the last 15 minutes of your boil also goes a long way to making a clear beer. So does cold crashing your beer for 24 – 48 hours after fermentation.
I actually have a post where I share 7 methods that I use during my brewing process to make clear beer. You can get access to that post here:
Click Here => How to Clear Home Brew Beer
And one of those methods I share is filtering. Which again you can check out how I do that here:
Click Here => Learn to filter your beer with the Bouncer Beer Filter
That is it my friend… if you have any questions at all do not hesitate to ask me for help. I am happy to help you out. Drop a comment in the comment section below and I will reply.
Cheers and happy Brewing… Big Robb is out!