
Every homebrewer eventually looks at something sitting in the kitchen and thinks:
“Could I brew beer with that?”
That is exactly how this beer came together.
A viewer commented that he had a kilo of marshmallows and wanted to use them in a beer kit without risking a big all-grain batch. That got me thinking.
Back when I owned my brew pub, we used to do wild one-off beers all the time. Fruity Pebbles, Sour Patch Kids, candy beers, strange flavors, ridiculous ideas. Some turned out great. Some probably should have stayed in the idea pile.
But they were fun.
So we are bringing that spirit back to Make Beer Easy with a new series:
Big Robb Gets Crazy
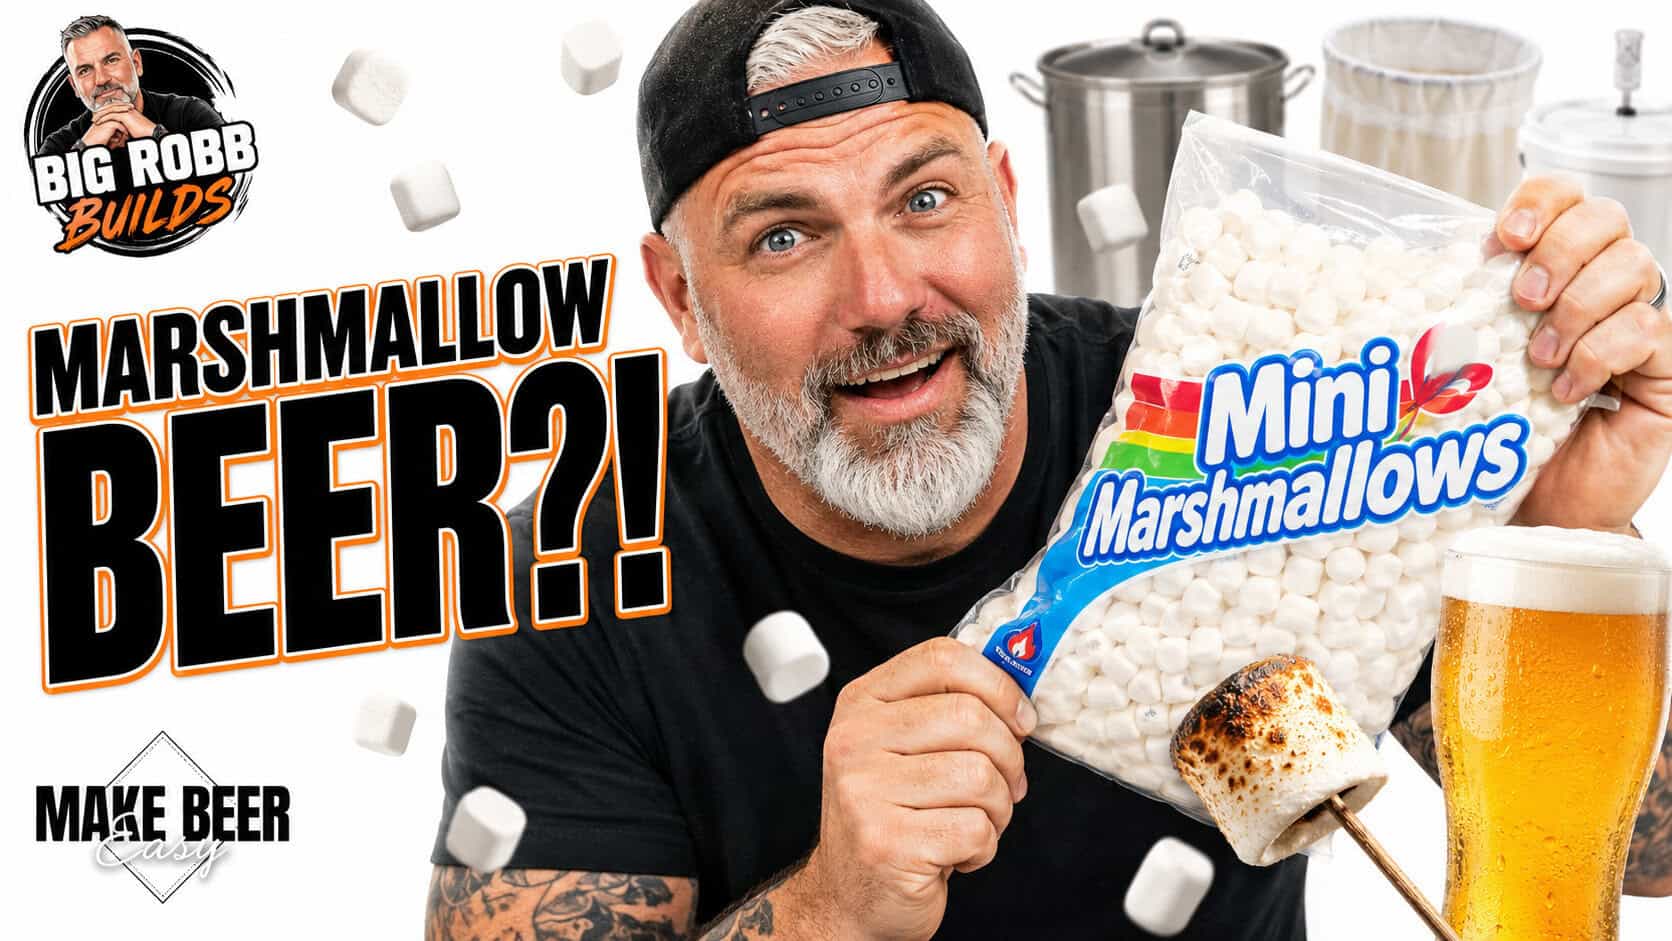
And for the first experiment, we are brewing a 1-gallon Marshmallow Cream Ale.
The goal is simple:
Can marshmallows actually add anything useful to beer?
We are going to find out.
Why A 1-Gallon BIAB Batch?
This is exactly why I like small batch brewing. When you are trying something weird, you do not always want to risk a full 5-gallon batch.
A 1-gallon BIAB batch lets you experiment, learn, and have some fun without wasting a pile of grain, hops, yeast, and time.
If you are new to this method, check out my guides on How to Brew in a Bag and How To BIAB – Step by Step.
For the gear side of things, you can check out my recommended 1-gallon brewing equipment.
🍺 The Equipment I Used
One of the best things about 1 gallon brewing is that you don’t need a ton of expensive equipment.
In fact, this entire recipe can be brewed using a simple BIAB setup with just a few basic pieces of equipment.
If you’re looking to build your own all-grain setup, check out my recommended equipment here:
👉 Recommended 1 Gallon BIAB Brewing Equipment
Watch Video
Marshmallow Cream Ale Recipe
Batch Size
1 gallon BIAB
Beer Stats
- Original Gravity: 1.049
- Final Gravity: 1.009
- ABV: 5.26%
- IBU: 15.6
- SRM: 3.34
- Efficiency: 70%
- Mash Temperature: 152°F
- Boil Time: 60 minutes
Grain Bill
- 1.50 lb Canadian 2-Row
- 4 oz Flaked Corn
- 1 oz Carapils
The base beer is basically a light, clean cream ale. I do not want a heavy malt bill or aggressive hops getting in the way. If the marshmallows bring anything to the table, I want to be able to taste it.
Hops
- 0.15 oz Willamette at 60 minutes
This keeps the bitterness low and soft. The beer needs just enough bitterness to balance the malt and sugar, but not so much that it fights the marshmallow experiment.
Yeast
- SafAle K-97
US-05 would have been my first choice, but my local homebrew shop was sold out. K-97 should still work well here. It is clean enough for this kind of beer and should let the marshmallow experiment stay front and center.
Mash
Mash the grains at 152°F for 60 minutes.
This should give us a balanced wort that is fermentable but not bone dry. Since marshmallows are going to add fermentable sugar, I do not want the beer to finish too thin.
If you are newer to all-grain brewing, this is where a good thermometer and proper mash process matter. You can see my recommended gear on the All Grain Brewing Equipment page.
Boil
Boil for 60 minutes.
Add the Willamette hops at the start of the boil.
With 10 minutes left, we start getting weird.
The Marshmallow Experiment
We are not just adding marshmallows one way.
We are trying them at four different points in the process to see what actually works.
Addition #1: Marshmallow Syrup In The Boil
Take 2 oz of mini marshmallows and melt them into about ½ cup of near-boiling water.
Once dissolved, add that syrup during the final 10 minutes of the boil.
The near-boiling water should help sanitize the syrup (plus adding them to the boil will sanitize them), and the boil addition lets us test whether marshmallow character survives fermentation.
My guess?
This addition may mostly ferment out.
But we are not guessing. We are brewing.
Addition #2: Toasted Marshmallow Syrup After Primary
After primary fermentation is done, we are going to add more marshmallows.
Take 4 oz of mini marshmallows, toast them under the broiler or on the BBQ, then melt them into about ½ cup of near-boiling water.
Let that syrup cool, then add it to the fermenter.
This is the addition I think has the best chance of giving us actual marshmallow character.
Before adding anything after primary, make sure fermentation is actually finished. If you are not sure, read How to Read and Use a Hydrometer and How to Ferment Beer.
Also, sanitize everything. Do not get lazy here. Check out How to Sanitize Beer Making Equipment if you need a refresher.
Addition #3: Marshmallows in the Fermenter
4 oz (113 g) Mini Marshmallows
Timing: After primary fermentation is complete
Contact Time: 5–7 days
Place 4 oz of mini marshmallows into a sanitized hop bag and weigh it down with sanitized marbles or stainless steel weights so it stays fully submerged in the beer. Add the hop bag to the fermenter after primary fermentation has finished and leave it in contact with the beer for 5–7 days before bottling.
This is an experimental addition designed to see if adding marshmallows directly to the fermenter contributes additional marshmallow flavor and aroma. Once the contact time is complete, remove the hop bag, verify your final gravity is stable, and bottle as usual.
Addition #4: Marshmallows As Priming Sugar
This one came straight from a viewer comment on the YouTube video. The idea: skip the corn sugar at bottling and let marshmallows carbonate the beer instead. I loved it. So we are getting crazy one more time — right in the bottle.
Here is the thing. Priming sugar works because the yeast eat it and give off CO2 inside a sealed bottle. Marshmallows are about 80% sugar, so in theory they should do the exact same job. The question is whether they actually carbonate cleanly, or leave behind a mess of undissolved goo and sediment.
So we are going to test it three ways.
Before you prime anything, confirm your final gravity has been stable for 2–3 days. This batch already had marshmallow sugar added after primary, so you need to be certain that is fully fermented before you bottle. Priming on top of unfinished sugar is how you get bottle bombs. Do not skip this.
Bottle 1 – Control
Prime with your normal priming sugar, about 1.7–2.0 g of corn sugar for a 16 oz bottle. This is our baseline.
Bottle 2 – Marshmallow Syrup
Weigh out 4.0–4.5 g of mini marshmallows, melt them in a small amount of near-boiling water, and let the syrup cool to lukewarm before adding it to the bottle and filling.
Bottle 3 – Whole Mini Marshmallows
Weigh out 4.0–4.5 g of mini marshmallows and drop them straight into the bottle before filling.
A quick note on the amounts. Mini marshmallows are lighter than people think — usually around half a gram each — so do not trust a piece count. Weigh 10 of your marshmallows, divide by 10, and dose by weight. That gets you the 3.0–3.5 g of actual sugar a cream ale wants for soft, even carbonation.
One safety tip: for the whole-marshmallow bottle, use a plastic PET bottle if you have one. You can squeeze it to feel when it is carbonated.
What we are looking for:
- Does the whole marshmallow carbonate as well as the syrup?
- Does one carbonate faster than the other?
- Is there any difference in sediment or clarity?
- Does either method leave any marshmallow flavor behind?
This is not about brewing the perfect bottle. It is about finding out whether marshmallows can actually pull double duty as priming sugar. My money is on the syrup being more consistent, but the whole-marshmallow bottle is going to be interesting to see what happens.
Packaging
Since this is a 1-gallon experimental batch, I’ll be bottling this beer instead of kegging it.
Before bottling, I’ll let the beer sit for 5–7 days after adding the toasted marshmallow syrup to give the yeast time to ferment any remaining sugars from the marshmallows. The last thing I want is bottle bombs because I rushed it.
I’ll also take a hydrometer reading before bottling to make sure gravity has stabilized. If you’re not sure how to tell when fermentation is finished, check out my guides on How to Read and Use a Hydrometer and How to Ferment Beer.
Once I’m confident fermentation is complete, I’ll bottle the beer as I normally would.
Depending on how clear the beer looks after the marshmallow additions, I may also fine it with gelatin before bottling. If you’ve never done that before, check out my guide on How to Fine Beer with Gelatin.
If you’re looking for the same brewing gear I use for recipes like this, take a look at my recommended all-grain brewing equipment.
If you are bottling this beer, be careful with any post-fermentation sugar additions. You need to know fermentation is finished before packaging.
🍺 Bottling This Beer?
If you’re still bottling your homebrew—or you’re just getting started—I’ve put together a list of the beginner brewing equipment I recommend, including bottle fillers, cappers, sanitizers, hydrometers, fermenters and other brewing essentials.
👉 See My Recommended Beginner Brewing Equipment
My Prediction
I think the boil addition will mostly ferment out.
I think the post-primary toasted marshmallow syrup has the best chance of working.
But honestly, I have no idea.
That is the whole point of Big Robb Gets Weird.
We are taking weird brewing ideas, trying them in real batches, and finding out what actually happens.
Final Thoughts
This beer might be awesome.
It might be terrible.
It might taste nothing like marshmallows.
But either way, we are going to learn something.
That is what homebrewing should be about. Experimenting, having fun, and not being afraid to try something strange once in a while.
The recipe is designed.
The marshmallows are ready.
Now we just need to brew the damn thing.
🍺 Continue Learning
Want to keep improving your homebrewing? Here are a few guides that pair perfectly with this recipe:
- 👉 How to Brew in a Bag (BIAB)
- 👉 BIAB All You Need to Know
- 👉 How to Read and Use a Hydrometer
- 👉 How to Ferment Beer
- 👉 How to Sanitize Beer Making Equipment
🍺 Equipment Used For This Recipe
Want to brew this Marshmallow Cream Ale yourself? Here are the equipment guides I recommend.
New to Homebrewing?
If you’re just getting started, check out my Recommended Beginner Brewing Equipment page. It includes my favorite fermenters, bottling equipment, sanitizers, hydrometers and other brewing essentials.
Brewing All Grain?
This recipe was brewed using a simple 1 gallon BIAB setup. You can find all of my recommended kettles, BIAB bags, thermometers, fermenters and more on my 1 Gallon BIAB Brewing Equipment page.
🎓 Ready to Brew Better Beer?
Whether you’re brewing your very first batch or experimenting with crazy ideas like marshmallow beer, my goal is to help you brew better beer without making homebrewing more complicated than it needs to be.
🍺 FREE Beginner Homebrewing Bootcamp
If you’re new to brewing, join my FREE Beginner Homebrewing Bootcamp and I’ll show you how to avoid the most common mistakes while brewing better beer from your very first batch.
👉 Join the FREE Beginner Homebrewing Bootcamp
🍺 Want More Beer Recipes?
Join thousands of other homebrewers and get my latest beer recipes, brew day tips, seasonal brews and Big Robb Gets Crazy experiments delivered straight to your inbox.
👉 Join the FREE Beer Recipe Newsletter
🍻 Have a Crazy Brewing Idea?
Leave a comment on the YouTube video or here on the blog with your craziest brewing idea.
If I pick it…
We’ll brew it on a future episode of Big Robb Gets Crazy!
Cheers,
Big Robb
Simple Brewing. Better Beer. Made Easy. 🍻